Sun 5 Apr 2009
Tagliatelle
Posted by Bria under Main Dishes
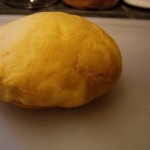
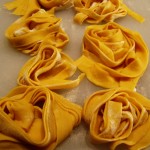
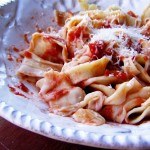
Pasta is one of my absolute favorite foods. It can support an incredible variety of supporting actors, from the simple (butter and cheese) to the elegant (vodka sauce) to the bizarre (tomato juice – really, my step-sisters love it this way). It’s easy to store and is generally pretty cheap.
But why fresh pasta? If you don’t already know, I think any explanation I could give you would be woefully inadequate. Imagine trying to explain to someone why cold water is refreshing or that the tops of babies’ heads smell good. If you love fresh pasta and have shied away from making your own because you think you can’t, give it a go. It’s not an especially quick process, although I have successfully pulled this off on a weeknight when I came home on the daylight side of 7pm.
Like so many things in life, there are two ways to do this: the easy way, and the hard way. The hard way is not impossible by any means (and I have successfully tackled it many times), it’s just a little messier and requires more elbow grease than the easy way. However, in terms of tools, the easy way requires a food processor and the hard way requires a flat working surface you don’t mind covering with flour.
I should point out that you also need attire you don’t mind covering with flour. Don’t try to roll fresh pasta in front of your dinner guests if you don’t want them to see you turn into a freshly flocked version of yourself. There are some menus you can easily throw together in dressy duds; this ain’t it.
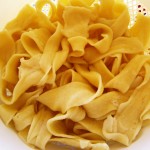
I use a pasta roller to get the sheets nice and flat, but I typically cut them into tagliatelle by hand with a pizza cutter rather than use the cutting attachment. One of these days, I’ll give fettuccine another shot. For now, the wide, flat ribbons of tagliatelle are perfect. Wider pasta can stand up to a very hefty sauce. That is not to say that there is anything remotely weak sauce about cappellini, spaghetti, or the like, but something wide like tagliatelle is really your ticket if you make, say, a hearty ragout.
You will note that I let the dough rest for 2 hours. You can speed it up, if you wish, but some rest is critical – at least 20 minutes. This lets the flour form gluten, which will make your dough elastic and lovely instead of sticky and crappy. If you make your pasta on the weekend, as I typically do, give it your best love and kisses and let it have its full nap. If you want to speed the play for weeknight carbtasticness, go with a 20 minute rest (during which time you can make a nice, quick sauce!).
A note on ingredients: I use all-purpose flour for my pasta. Specifically, I use King Arthur All-Purpose – comes in a red and white bag. After years of playing hit and miss with many flour brands, I have come to love King Arthur. I use their bread flour, wheat flour, and all-purpose flour (often referred to here as “AP flour”). Yes, you can do lovely things with fancier flours, particularly semolina. I just haven’t gotten around to trying. When I do, I will keep you updated. In the meantime, I like this recipe as I always have the components on hand. AP flour? Check. Eggs? Check. You can have a spectacularly bare fridge and still knock your own socks off with the simplest of ingredients. Try it.
Tagliatelle
Makes 1 pound
2 cups AP flour (10.5 oz, if you are weighing), plus flour for dusting
3 beaten eggs
Water, as needed
Easy way: Dump the flour in the bowl of a food processor and cover. Add the beaten eggs and combine with the blade attachment for 30 seconds. Examine the dough – does it look like little pebbles? If so, add a splash of water (approximately a half-teaspoon, not a Darryl Hannah gallon) and continue to process until the dough forms a ball. If it starts sticking to the sides of the bowl at any point, sprinkle in a dash more flour and continue to process until it comes together. Once combined, turn the dough out onto a very lightly floured work surface.
NB: I use these Polysafe cutting boards (20″ x 15″) for all things involving the kneading of dough and I love them. I have three.
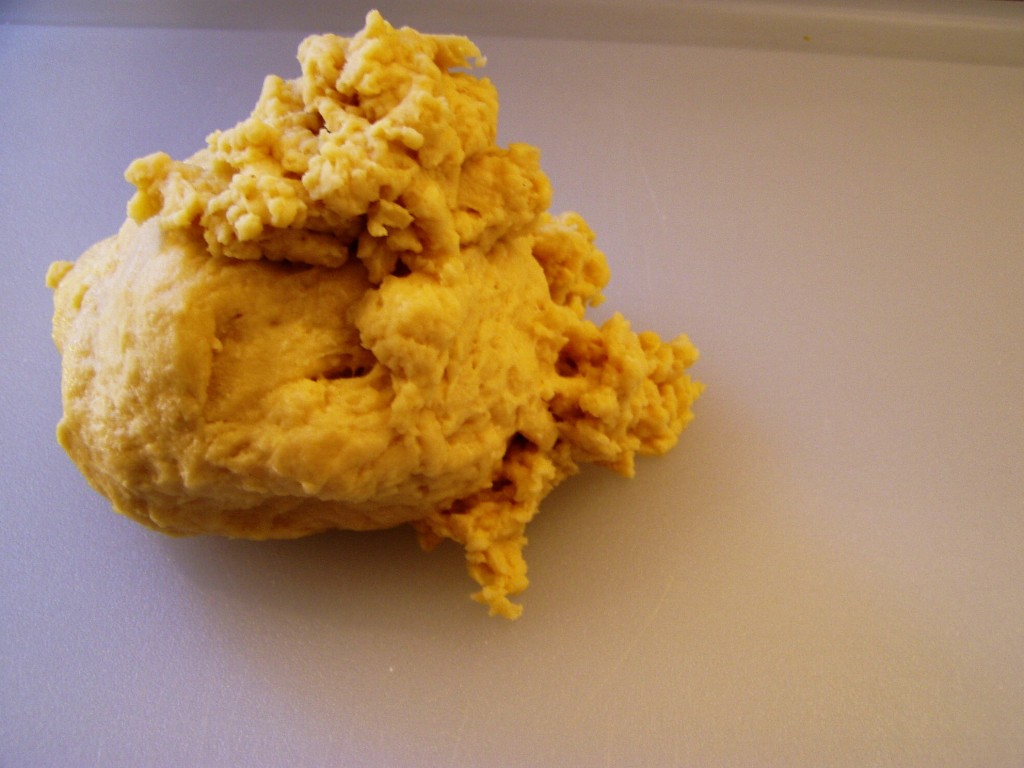
Hard way: Dump the flour onto a clean work surface and mound with your hands to create a little hill. Pour the beaten eggs in the center of the hill and begin combining the elements with your hands until a rough dough forms. Knead vigorously – it will be very stiff. As with the easy way, add small amounts of flour or water as needed to make the dough a nice consistency. When you have the correct balance of wet to dry, it should stop sticking to your hands altogether.
Using your best big girl (or boy) kneading efforts, knead the dough for 1 to 2 minutes until it is smooth, shiny, elastic, and gorgeous. I have no sense of time whatsoever, so I use a kitchen timer that lets me count up and keep my eye on it until the first minute passes.
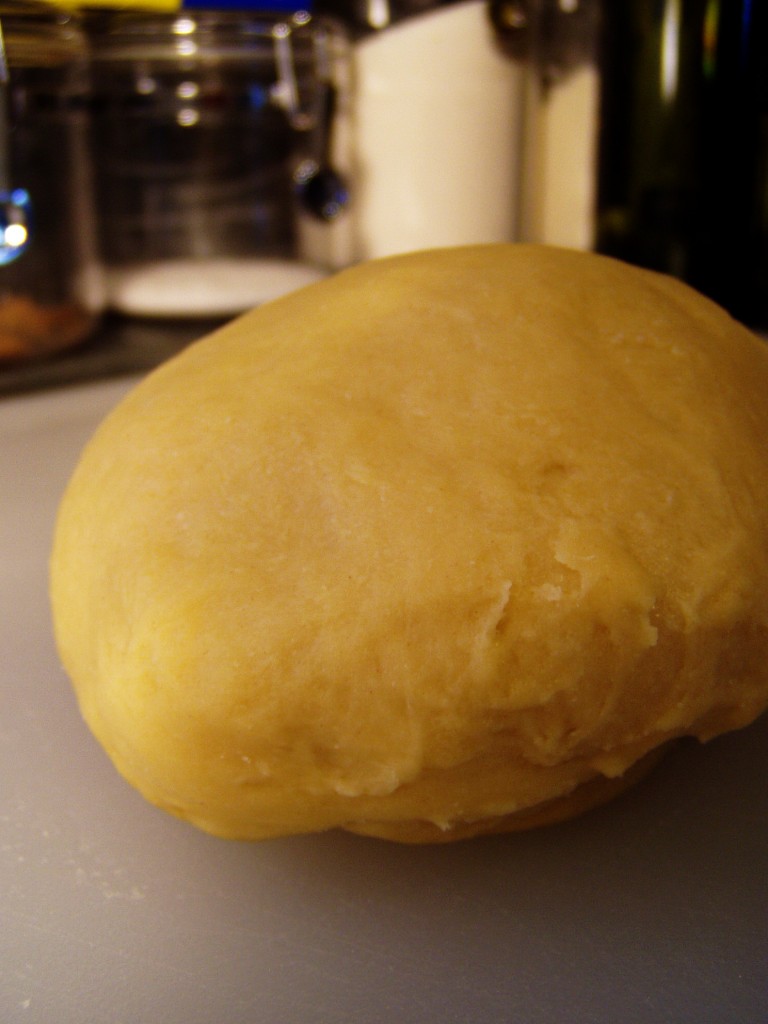
Cover the dough in plastic and let it have a nap on the counter for 20 minutes or up to 2 hours.
Once the dough has rested, prepare a landing site for your freshly rolled dough. I use two of the large cutting boards above, but any flat surface will do. That is, any flat surface you don’t mind dusting with flour. It’s very important to put a little flour down, or the dough will stick. My great-grandmother used to lay her pasta on the bed (on a clean sheet). If you are worried about your table/desk/counter, follow her lead and put down a clean kitchen towel, pillowcase, tablecloth, whathaveyou.
Cut the dough into 6 pieces. Roll one lightly in flour and leave the rest covered. Roll the first piece through your pasta roller on the widest setting. Fold the ends to the center until the points meet and send it back through, open-side first. Do this twice more, then start ratcheting up the tension, taking one pass per tension setting. I stop after 4 steps up in tension (setting 3 on the Prago Pasta Machine). You should just be able to see your hand through the sheet of dough.
Carefully lay the first sheet on your prepared surface and sprinkle lightly with a bit of flour. Repeat for the remaining dough.
Once rolled, use a knife or pizza cutter to trim the pasta sheets into even ribbons, approximately ¾” wide. Allow the noodles to dry for another 15 minutes while you clean up and get water boiling. Boil for approximately 3 minutes, or to your preferred consistency. Drain well (really give them a shake in a strainer, as the wide noodles will trap a LOT of water) and toss with your favorite sauce. Serve immediately.
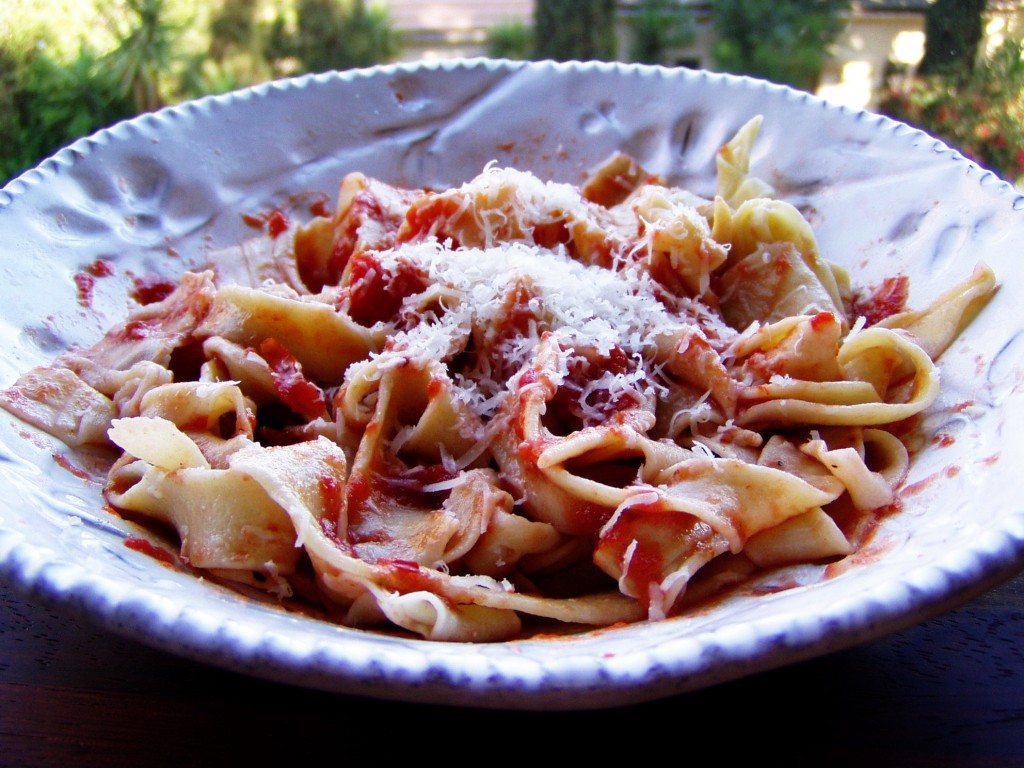
If you will not be cooking them right away, roll the noodles into loose spools and refrigerate. Fresh pasta will keep well for about 3 days.
mostbet az bonus [url=https://mostbet4044.ru/]mostbet az bonus[/url]
лаки джет игра отзывы лаки джет игра отзывы
Мы изготавливаем дипломы любой профессии по приятным ценам. Мы предлагаем документы ВУЗов, расположенных в любом регионе РФ. Документы выпускаются на бумаге самого высшего качества. Это дает возможности делать настоящие дипломы, не отличимые от оригиналов. orikdok-v-gorode-kaliningrad-39.online
Мы изготавливаем дипломы любой профессии по приятным тарифам. Приобретение документа, который подтверждает обучение в ВУЗе, - это выгодное решение. Приобрести диплом любого университета: oromiajobs.com/profile/lorrainearmstr
игра lucky jet на деньги скачать игра lucky jet на деньги скачать
Приобрести диплом о высшем образовании!
Мы изготавливаем дипломы любой профессии по приятным ценам— kommunikatory.ru
спид кэш [url=www.1win1135.ru]спид кэш[/url]
1вин мобильная версия сайта 1win1135.ru
iflow домофон http://www.citadel-trade.ru .